Only a couple of more steps – believe it or not once you’ve done this a few times you’ll be stunned that I found so many ways to stretch the instructions out this far 🙂
We’re ready to set the featured image which is one of the small sub-windows on the right-hand side of the Add New Post page:

This is a thumbnail for the gallery which will appear in lists of articles and galleries. It’s a little confusing because you’ll need to upload another image – preferably a smaller version of one of the images you already uploaded for the FIAGallery. Clicking the Set featured image link will open a pop up something like this:
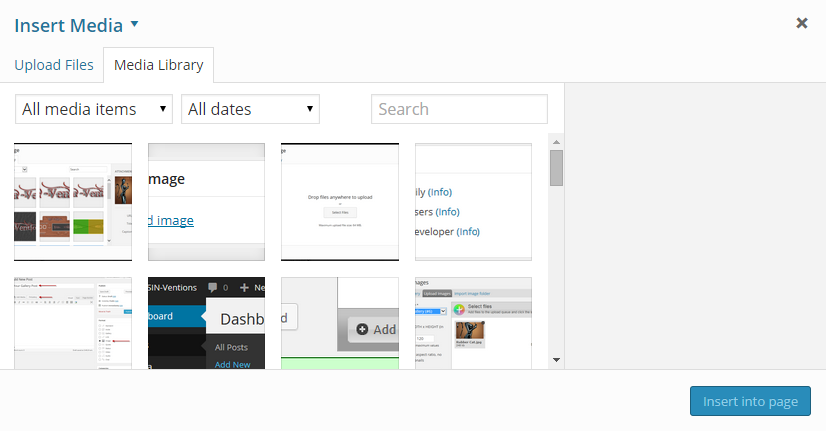
Just like with the FIAGallery, if you’re using a modern browser you can simply select files from your computer and drag and drop them onto this window to upload them. If your browser doesn’t support this feature you can click the Upload Files tab to upload them using the traditional method.
Once your file has uploaded it will appear in the Set Featured Image pop up:
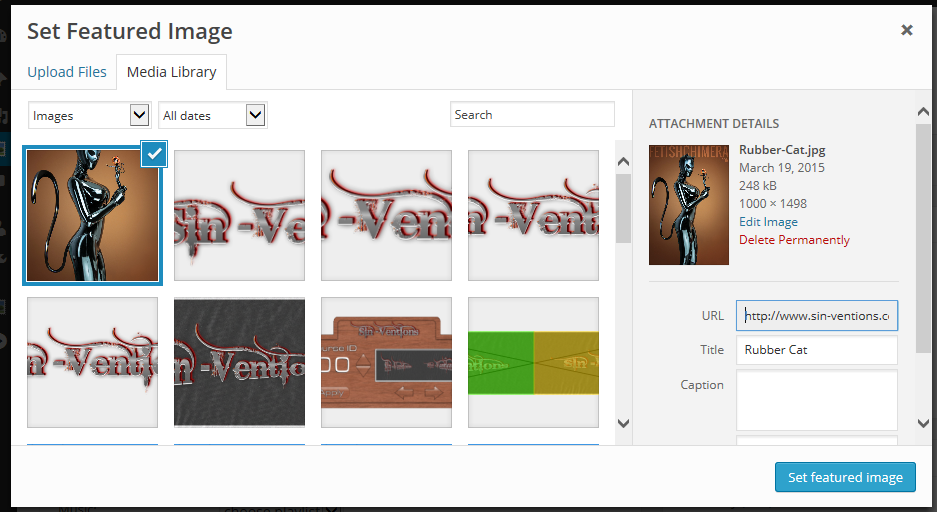
All of the files you just uploaded will be selected by default. Notice the blue outline around the cat girl image? If you uploaded multiple images just click the check mark in the upper right=hand corner of the thumbnail to unselect the ones you don’t want to use.
Once you’re down to just a single image click the Set Featured Image button to return to the Add New Post page where we’re at long last ready to Add A FIAGallery To A Post and wrap this up.